5 quick steps to set-up an Amazon seller account
Fri Aug 16 2024
7 min read
techadmin
So, you’ve decided to dive into the world of e-commerce by selling on Amazon India - fantastic choice! Amazon India is a powerhouse of opportunity, with 450+ million visitors ready to discover your products. Whether you’re a seasoned entrepreneur or just starting out, we’ve got you covered.
In this guide, we’ll first walk you through the essential phases of launching and thriving on Amazon. Next, we’ll dive into a detailed step-by-step process of creating a seller account to get you selling in no time. Also, make sure to catch Klub’s upcoming webinar with Seller Circle, a leading Amazon Ads Advanced partner, titled "WTH is Amazon?"—featuring Anthony Cyrus as he explores how to leverage Amazon’s platform for success.
Let’s get started! But first, let’s understand-
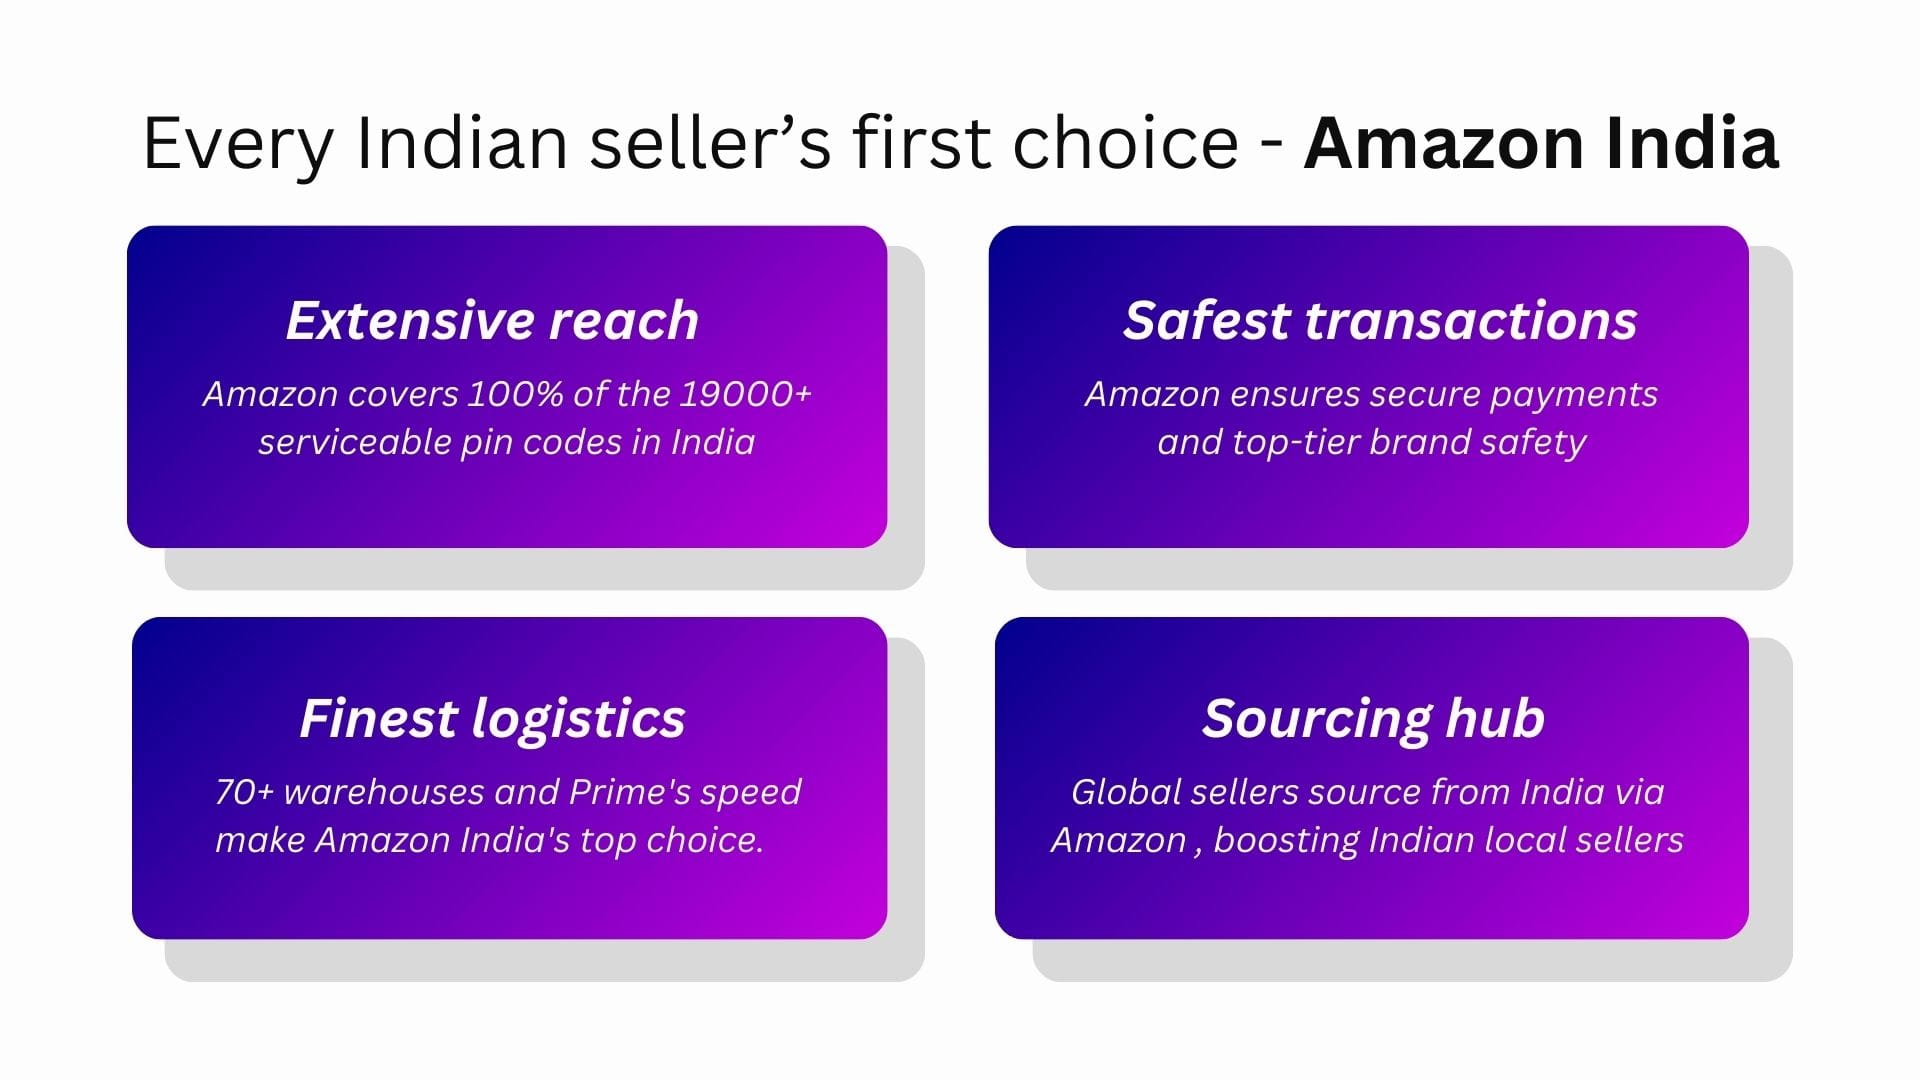
Why should you sell on Amazon India?
Amazon India is a colossal marketplace, with millions of visitors shopping from every corner of the country. With over 1.2 million sellers on Amazon India, the estimated number of items sold on Amazon in a day is around 6 million.
Phases of launching your Amazon business
The beauty of Amazon is that there isn’t just one way to sell on this platform. There are many variables like the products you choose to sell or the business model, that influence your success on Amazon.
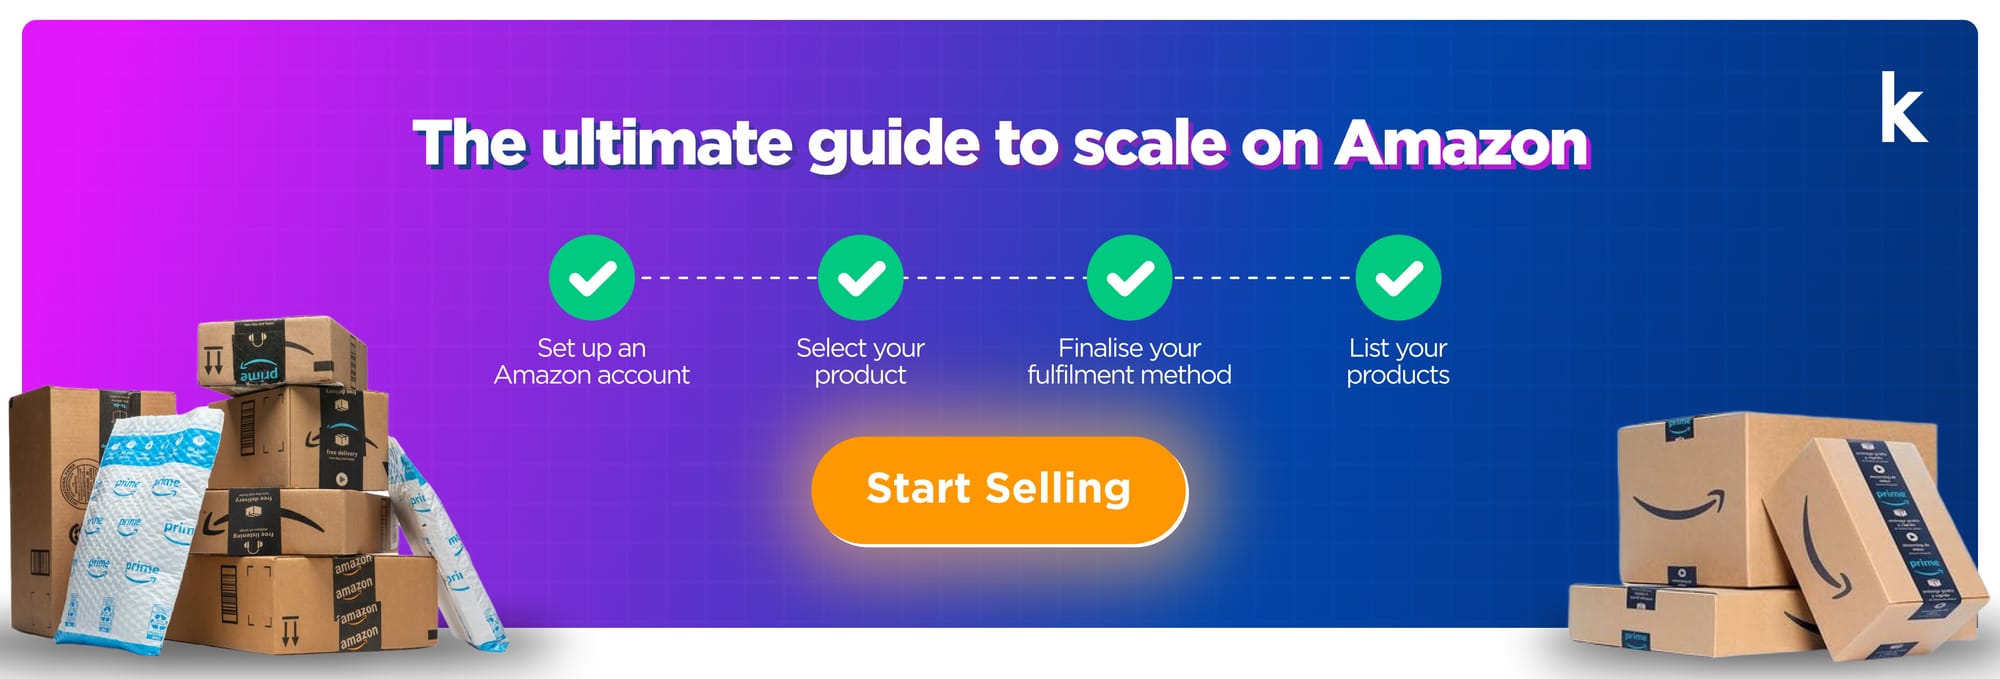
- Amazon account set up
Start by choosing between an Individual or Professional account based on your expected sales volume. You’ll need to provide your business and bank details. - Product selection
Choose very wisely, and research which products are trending and profitable. Keep an eye out for prohibited or restricted products. Prohibited products are items you can’t sell on Amazon while restricted products are items that can be sold but require approval from Amazon.
Tools such as Amazon Best Sellers or growth enablement platforms like Klub can help you identify winning products. - Finalise your fulfilment method
Fulfilment involves getting your products to your customers. Amazon has two fulfilment routes -Fulfilment by Amazon (FBA) - Amazon takes care of storing your products, packing them, and sending them to customers for you.
Fulfilment by Merchant (FBM) - You store, pack, and send the products to the customers yourself. Explore the pros and cons of each to find your perfect fit. And remember, you can mix and match FBA and FBM to cover all your bases - List your products
Start listing products on Amazon with compelling and clear titles, detailed descriptions, and high-quality images. Consider using Amazon’s FBA to handle shipping and customer service, making your products more appealing to Prime customers. - Start selling
Optimise your listings with relevant keywords and invest in Amazon Sponsored Products to boost visibility. Encourage satisfied customers to leave positive reviews to enhance your credibility.
5 easy steps guide to create an Amazon seller account
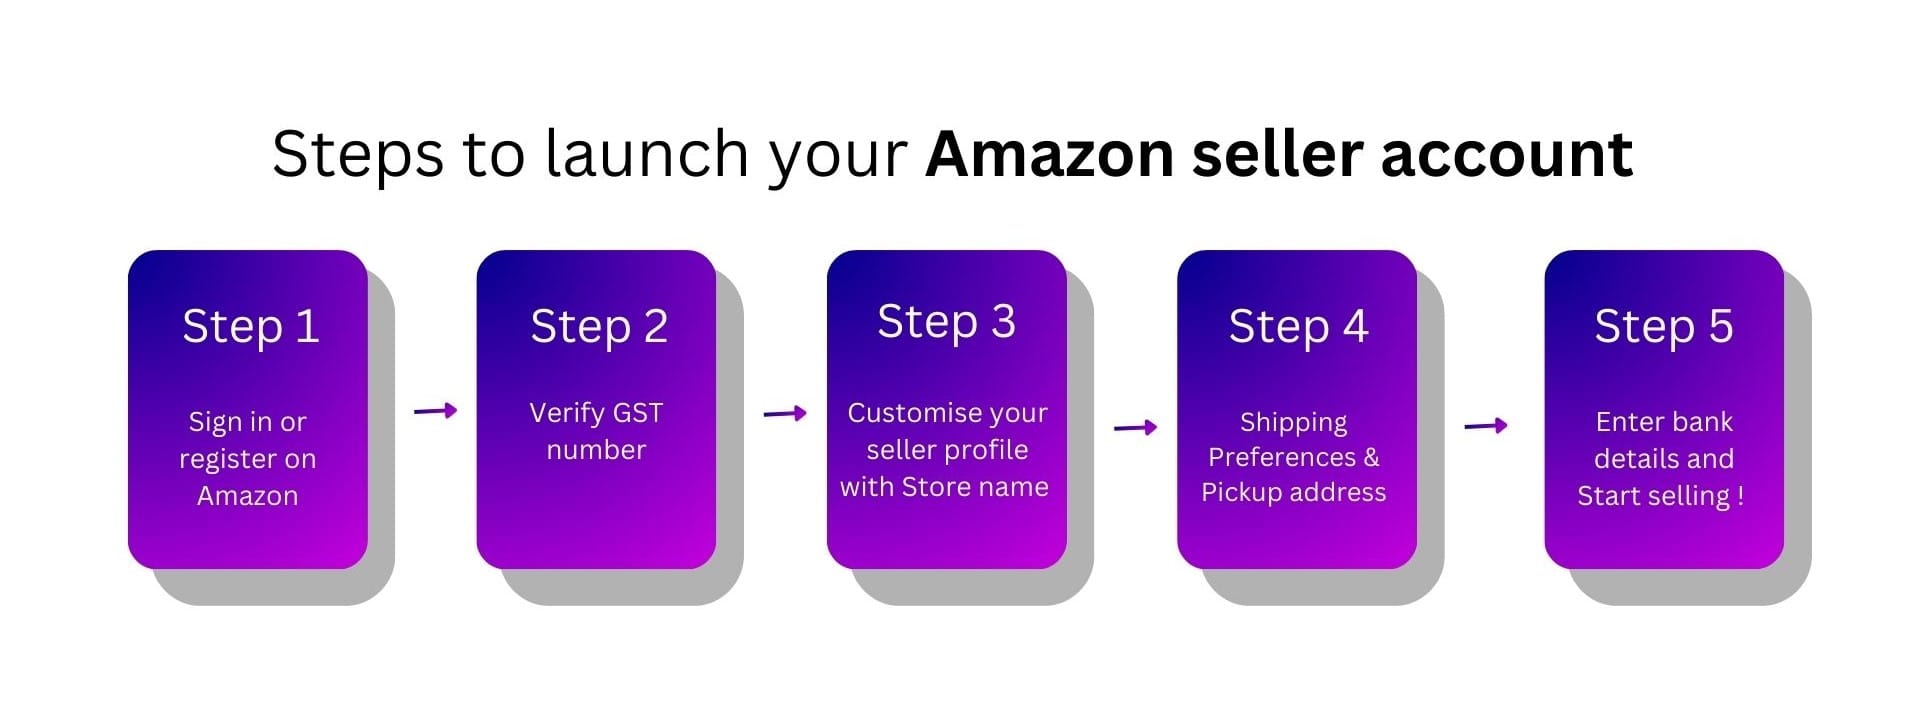
Once you’ve decided the type of business model and the products you want to sell on Amazon, registering your Amazon seller account is essentially a 5 steps process -
If all your documents and details are accurate, verifying your account can take up 48 - 72 hours. Let's dive in deeper and go step-by-step to create your Amazon seller account.
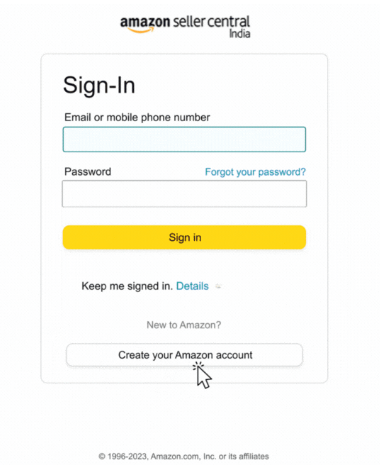
Step 1) Sign in or Register
Head over to sell.amazon.in or sellercentral.amazon.in and click 'Start Selling' to create your account.

- Already an Amazon customer? Good news! If you already have an Amazon.in or Prime Video account, just use your existing email and password to sign in. You’ll need to verify your phone number with an OTP, and you’re on your way.
- New to Amazon? Click 'Create your Amazon account'. Enter your name, mobile number, email address, and set a password. Then, hit ‘Continue’ and you’re set.
Step 2) Enter and verify your GST number
Enter your Goods and Services Tax (GST) number. If you’re selling GST-exempt products (like books, hearing aids, beehives), select the appropriate option.
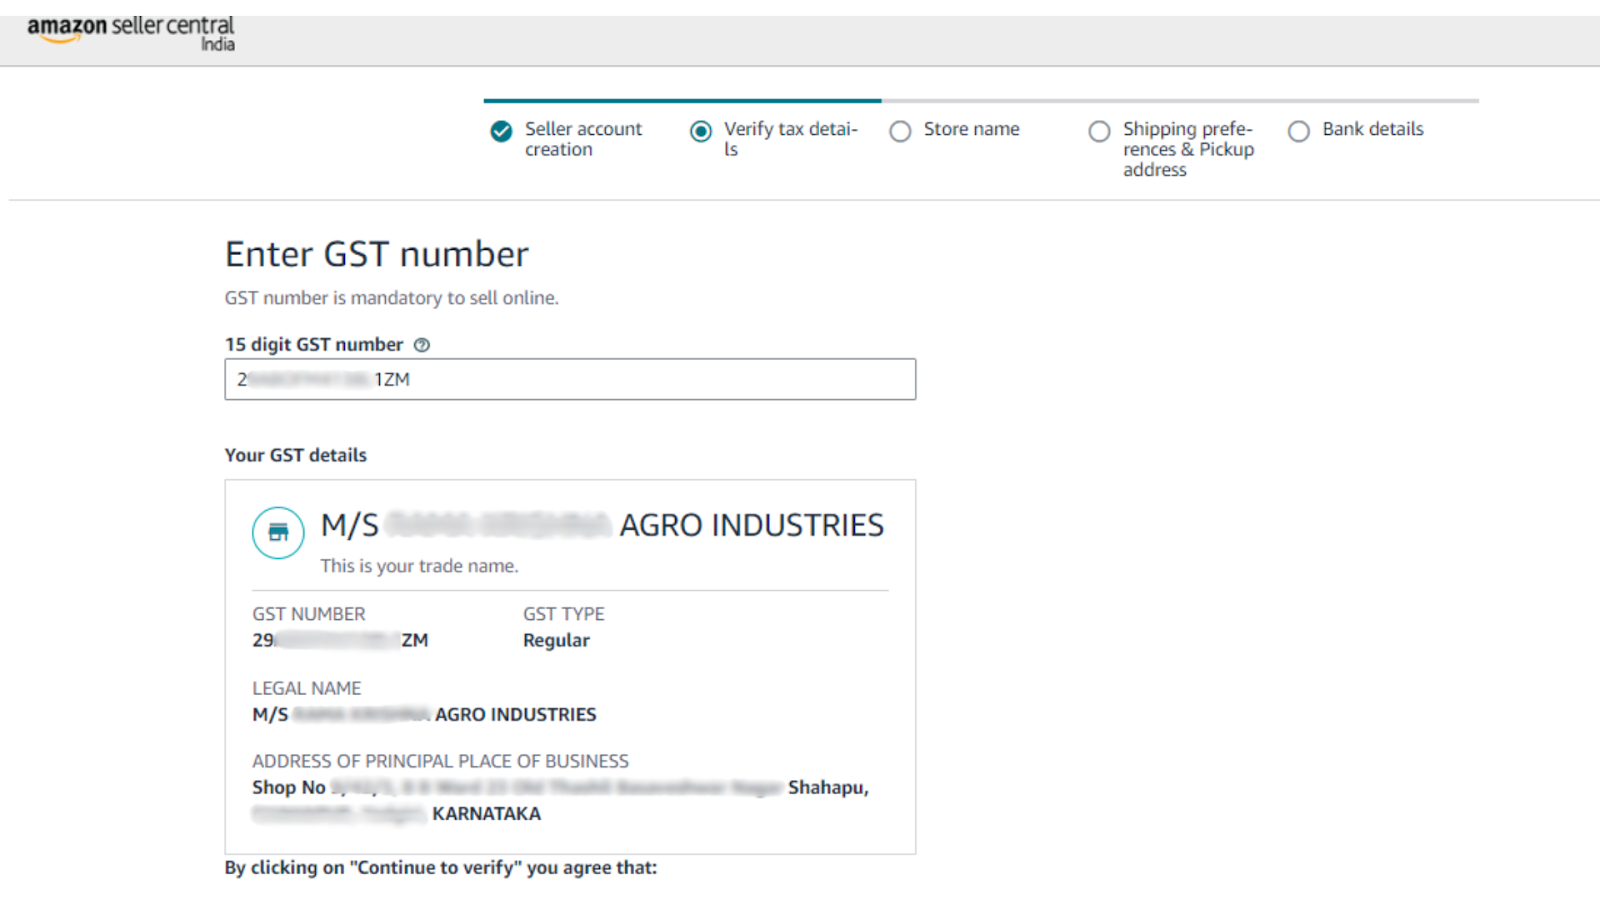
After entering your GST number, click ‘Continue to Verify’. Upload your GSTIN certificate. Hit ‘Submit GST document’. Verification can take up to 72 hours, and you’ll get an email update. Meanwhile, proceed with the next steps.
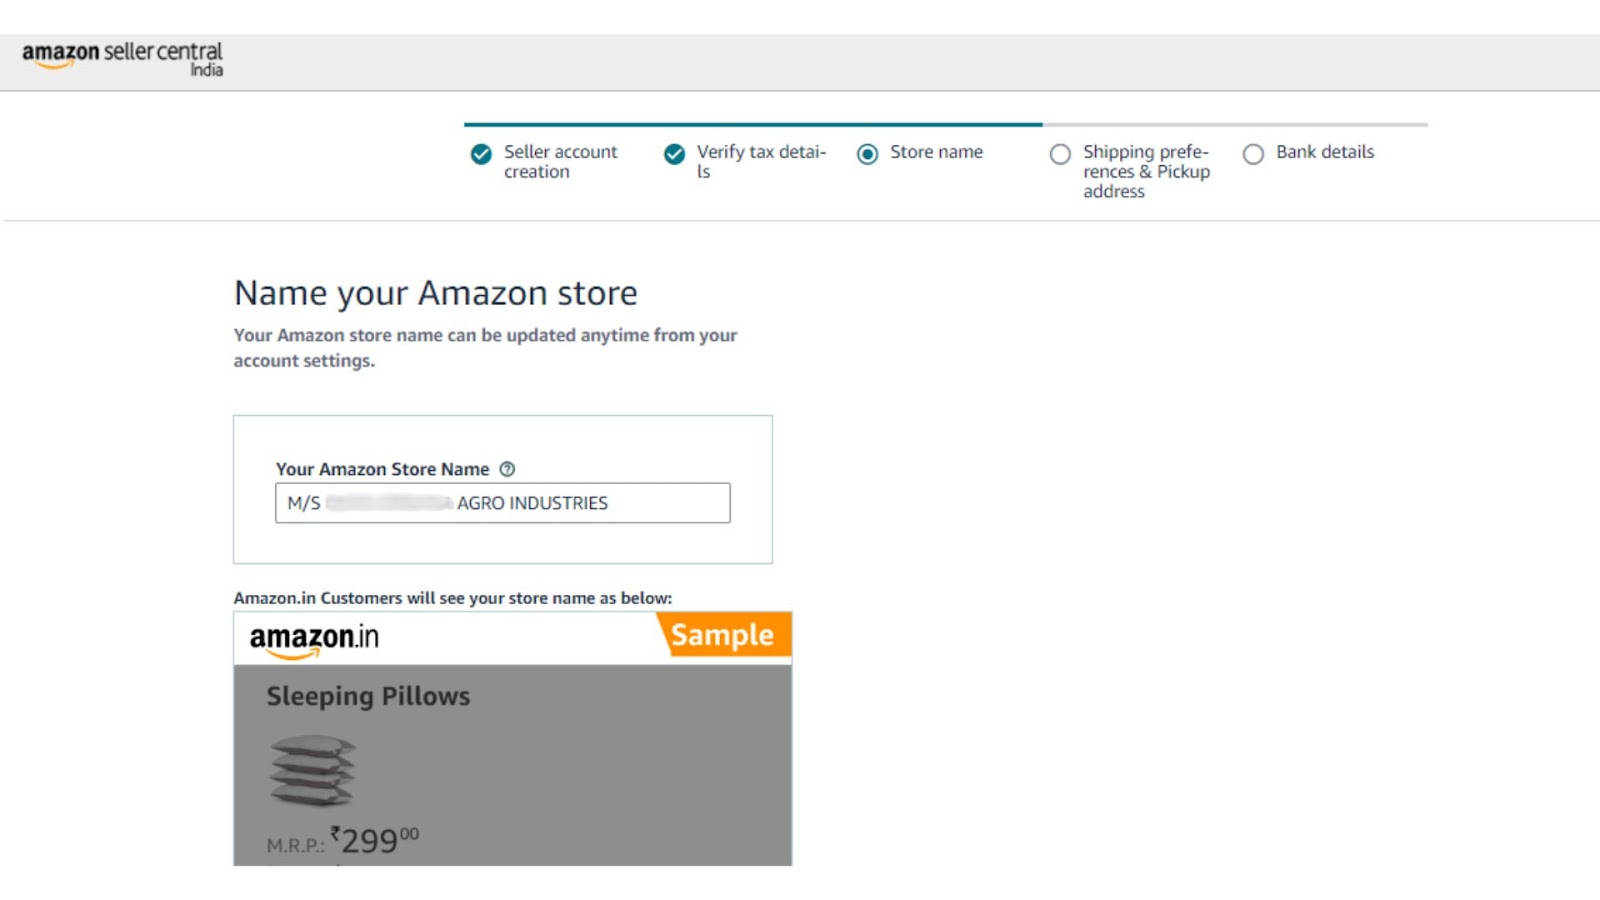
Step 3) Customise your seller profile with a Store name
Pick a unique store name that represents your business on Amazon.in. You can either go with Amazon’s auto-generated suggestions or get creative and enter your own.
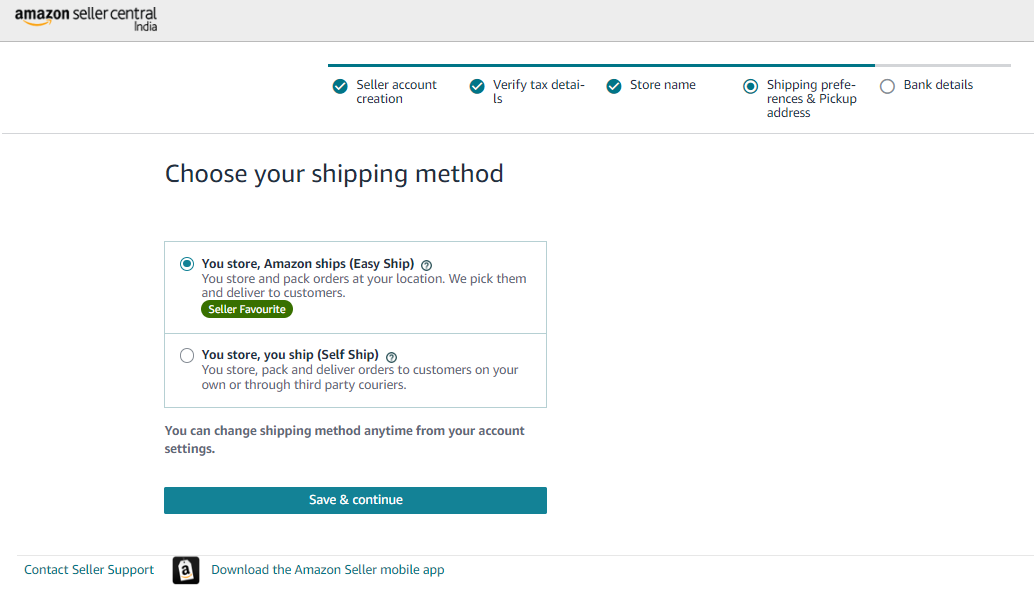
Step 4) Enter the pickup address and shipping details
Provide your pickup address from where Amazon will collect product shipments for your customer orders. You can use the address on your GST certificate or add a new address if needed. Ensure it’s in the same state as your GST registration.

Choose your shipping method -
- Easy Ship: Store and pack your orders, and Amazon will pick and deliver them for you. Additional fees apply.
- Self Ship: Manage storage, packing, and shipping yourself, or use third-party services.
For Easy Ship, you can either include delivery charges in the product price for free delivery or keep them separate.

Step 5) Add your bank account and start selling
Enter your active bank account details. This is where your earnings from Amazon sales will be transferred.
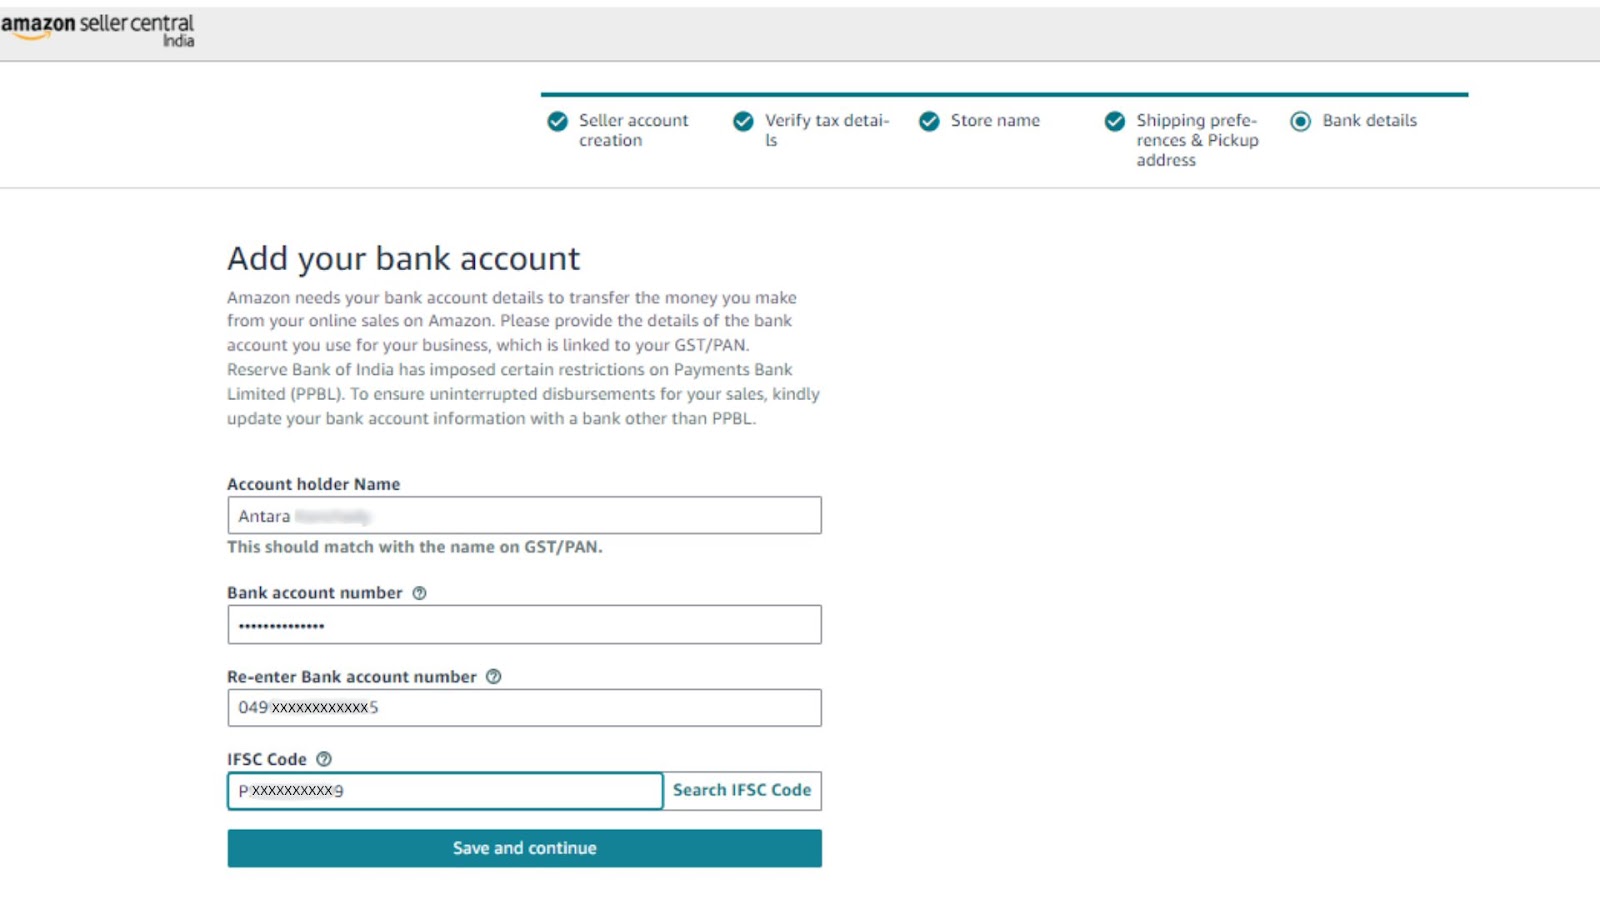
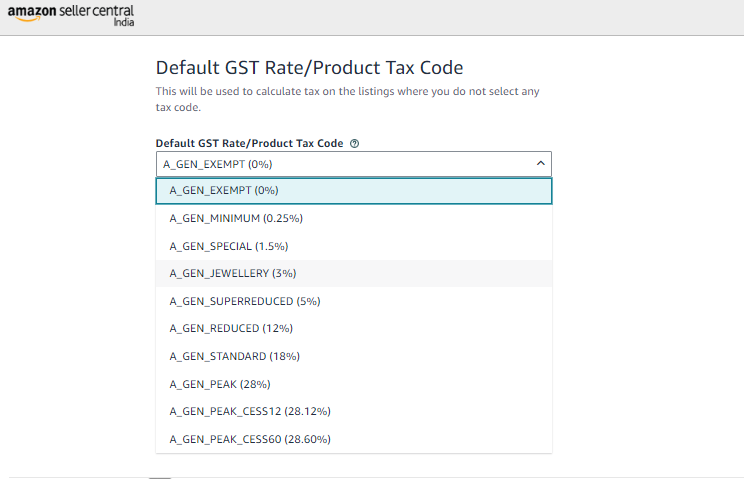
Choose the Default GST rate or Product Tax Code (PTC) for your product categories. This rate will be used to calculate taxes on your listings unless you specify otherwise.
You’re almost done. Click ‘Add products and start selling’. Enter product details, like photos, descriptions, and prices. Complete at least one product listing to launch your store.
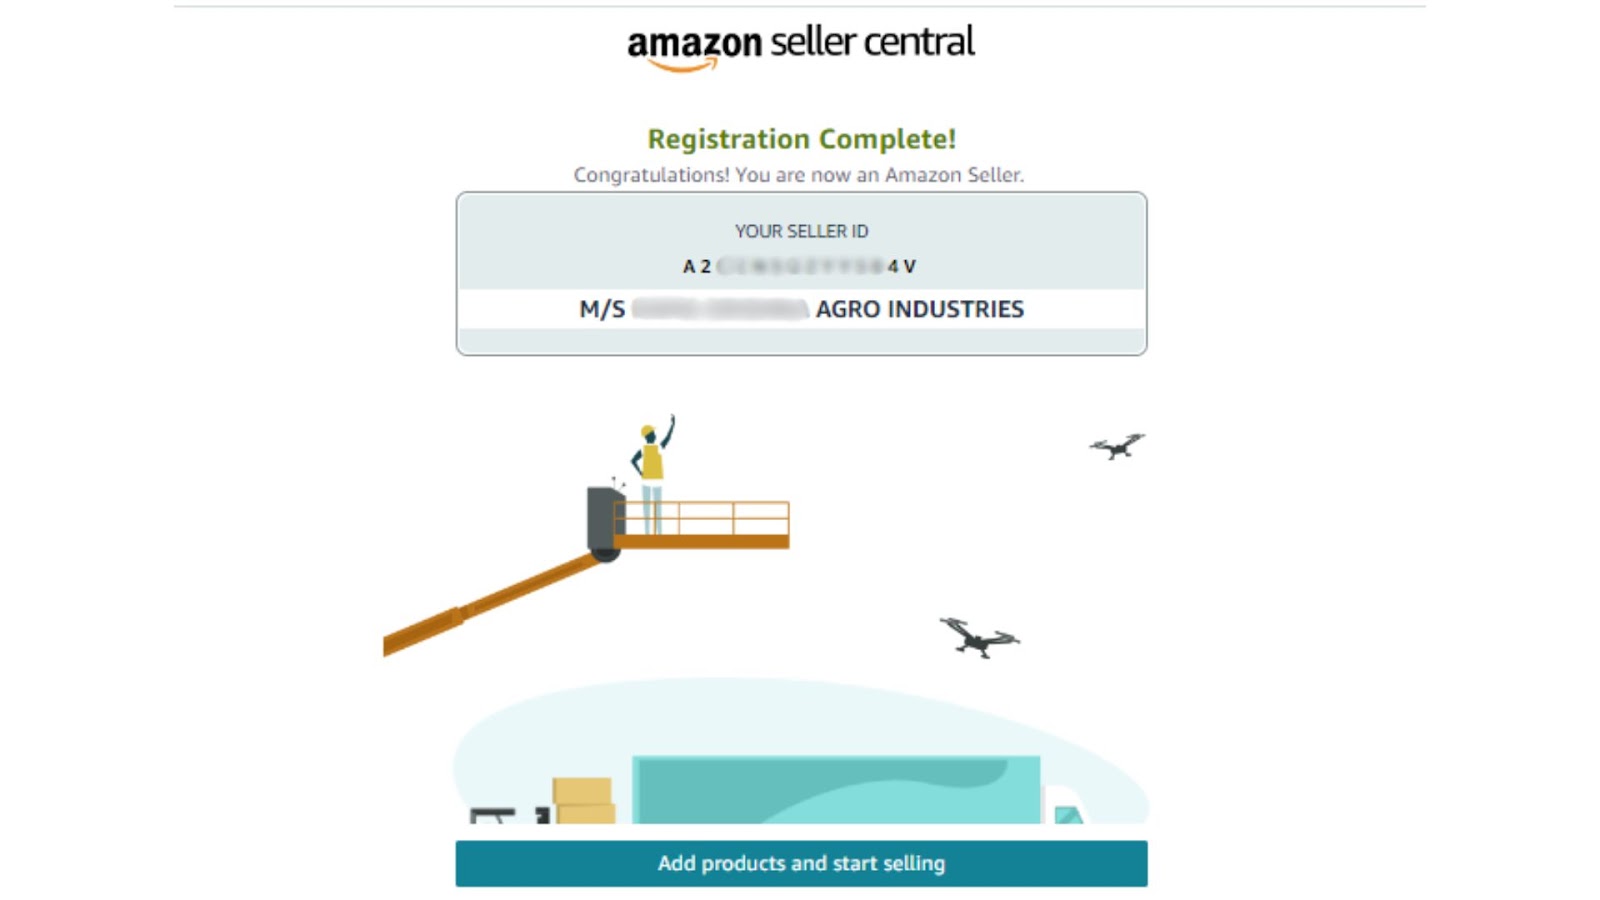
Voilà! Click the ‘Start selling’ button to make your products available to millions of customers on Amazon India.
Understanding the costs (also known as Amazon fees)
Selling on Amazon India involves a few fees. To put it simply -

- Referral Fee
A percentage of each sale, varying by product category. - Closing Fee
An additional charge based on the product’s price. - Shipping Fee
Costs related to delivering your order. - FBA Fee If using Fulfilment by Amazon (FBA), this covers picking, warehousing, packing, and storage.
To know about your exact selling costs use the Amazon India Fee Calculator to get a detailed estimate.
Amazon’s “I’m ready to sell on Amazon” checklist
Before you set up an Amazon seller account, make sure you have these essentials.
1) Email ID
2) Active Bank Account
3) PAN Details
4) GST Number
With these in place, you're ready to register and become an Amazon seller.
Common errors to avoid while setting up a seller account
To ensure a smooth start and avoid potential issues, it’s crucial to understand and avoid common pitfalls that can lead to account issues or suspension.
- Avoid Multiple Accounts
Create only one seller account per set of business details to prevent account suspension due to multiple seller accounts. - Consistent Business Details
Make sure your GST, PAN, and bank account details are all aligned with your registered business name. - Verify GST and Tax Code
Confirm the GST slab applicable to your products and select the correct Tax Code to avoid complications with GST returns. - Prepare Authorization Documents
Keep brand authorization letters and invoices handy, as Amazon may request these documents at any time. Being prepared helps prevent account suspension.
Bonus things to know before you start selling on Amazon India
- Go for the Prime badge
Getting the Prime badge can make a big difference. Shoppers often look for it and may filter out non-Prime options. This badge represents quality and great service, and it can increase your sales by up to 30%. It’s worth the effort. - Fast and free shipping
Shoppers now expect 2-day shipping for free. If you can't offer this, ensure your system is ready to meet these expectations before listing your products. Quick, free delivery can really boost customer satisfaction. - Understanding Amazon’s ins and outs
Selling on amazon looks easy but can be a bit tricky. Check out Klub’s “Unkown hacks to scale on Amazon” webinar that covers the important details that go unnoticed and strategies that will help bring in maximum sales.

In a nutshell, selling on Amazon India offers immense potential, with its broad reach and top-notch logistics setting the stage for your success. By following the steps outlined, you can easily set up your Amazon seller account and start making an impact.
Remember, strategic planning is crucial for sustained success. Growth enablement platforms like Klub provide essential support through working capital, debt financing, and cross-border commerce expansion, helping refine your strategy and scale your operations effectively. Embrace the potential, stay proactive, and let your Amazon venture thrive.
We hope you find this guide helpful. If you have any feedback or questions, feel free to reach out to us at growth@klubworks.com.
checkout more great content

Wed Oct 08 2025
1 min read
Resilient SMEs treat debt as a strategic asset: planned, measured, diversified, and optimized over time. Healthy founda...

Wed Oct 08 2025
1 min read
Beyond bank loans, UAE businesses can tap flexible capital from alternative sources—useful for e-commerce and retail. P...

Wed Oct 08 2025
1 min read
Debt becomes a problem when payments are hard, covenants break, or new funding is unavailable. Early action keeps option...

Wed Oct 08 2025
1 min read
UAE peaks: Ramadan/Eid, DSF, back-to-school, National Day, winter tourism. These bring high demand and higher costs befo...